An important Guide for Computer Users on Repairing Keyboard Buttons
In the modern age of digital technology, every click counts. Your keyboard is a critical interface, whether you’re putting up a business proposal, ranking up in a particular work, or just writing a polite email. However, even the most reliable keyboards sometimes give way, leaving users in a difficult situation.
A common problem seen by computer users is the not working of particular keys on the keyboard. It can be annoying when unstable letters, sticky keys, or unresponsive buttons are on the screen. If you ignore them, they could cost you productivity, time, and the entire keyboard.
Thankfully, there are practical steps you can take to repair your keyboard buttons and restore your keyboard’s functionality, often with just a few simple tools and a bit of patience.
The Importance of Functional Keyboard Buttons
Imagine sitting down to complete an urgent project, only to find several keys on your keyboard that don’t work. It’s an inconvenient and avoidable problem that, when tackled proactively, can save you a great deal of time and potentially the expense of a new keyboard. Functional keyboard buttons are the unsung heroes of daily computing, and their health is paramount.
Understanding Keyboard Buttons
Before we begin our repair efforts, we must familiarize ourselves with the types of keyboard buttons and the common problems they face.
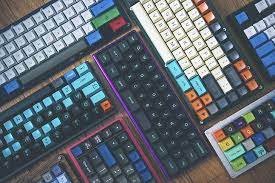
Types of Keyboard Buttons
Modern commercial keyboards use either mechanical or membrane buttons. Mechanical keyboards have a separate switch beneath each key, offering a more responsive typing experience. On the other hand, Membrane keyboards are quieter and often found in laptops, with a single layer serving as the pressure pad for all keys.
Common Problems Inducing Failure
Sticky keys are a frequent annoyance. They can result from liquid spills—soda, coffee, and water—or dust and dirt accumulation. Physical damage can cause keys to become loose or detached, leading to an unresponsive or unusable state. Understanding these issues is the first step to solving them effectively.
DIY Repair Techniques
For technically inclined people who feel comfortable tinkering, here are several DIY repair techniques that can help address the bulk of keyboard button problems.
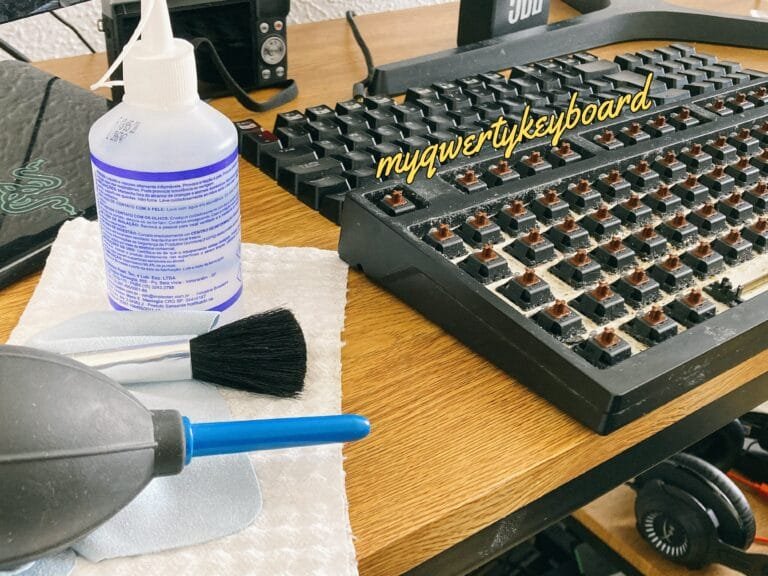
Cleaning Methods for Sticky Buttons
For sticky or unresponsive keys, often the issue is a collection of grime preventing smooth movement. Compressed air can dislodge the particles, followed by isopropyl alcohol on a cotton swab to clean the key and the area beneath it. If a liquid spill is the culprit, you may need to open the keyboard to clean the affected regions thoroughly.
Reattaching Loose Buttons
Loose buttons can be reattached with ease. Most keys have a simple mechanism that allows for detachment and reconnection. Gentle pressure should restore them to their rightful place. Be mindful of the small parts that comprise the critical assembly and the general arrangement of keys to reattach them correctly.
Fixing Unresponsive Buttons
Removing the keycap can allow you to access the critical membrane if a button is unresponsive. Please inspect for any damage, such as tears or snags, and gently adjust it to ensure it makes proper contact when the button is pressed. Remember that uniform pressure across the membrane is crucial for even operation.
Professional Repair Options
When DIY efforts prove insufficient, it’s time to consider professional repair. Professional servicing may involve replacing damaged key switches or membranes, which can be intricate operations best left to skilled technicians.
When to Seek Professional Help
Professional assistance is recommended if you encounter resistance during DIY repairs if multiple keys are affected, or if the keyboard is under warranty. Trained experts can diagnose and resolve issues that are beyond simple troubleshooting measures.
Cost Considerations
The cost of repairing keyboard buttons can vary widely. Factors such as the type of keyboard, the severity of the problem, and the technician’s assessment can all influence the final cost. In some cases, the repair cost may be comparable to a new keyboard, determining that replacement is preferable.
Preventive Maintenance Tips
Preventing the need for future repairs is as important as addressing the current issues. Regular maintenance can significantly extend the life of your keyboard buttons and ensure consistent performance.
How to Prolong the Life of Keyboard Buttons
• Regular Cleaning: Ensure your keyboard is part of your regular cleaning routine. Whether it’s vacuuming out dust or wiping down surfaces with a gentle antiseptic, cleanliness is critical to function.
• Be mindful of Liquids: Keep all liquids far from your keyboard. This simple practice can prevent many issues, preserving your buttons and the entire keyboard.
• Gentle Use: Avoid excessive force when typing. Overly aggressive key presses can damage the internal switches over time.
Conclusion
Your keyboard is your primary tool while using the digital world, but it becomes less valuable when its buttons stop working. You can repair keyboard button functionality by learning about its anatomy and allocating some time for upkeep. Professional repairs may be a good option for more significant problems. Computer users require an operational keyboard—it’s not just an asset.
FAQs
How often should I clean my keyboard?
Ideally, lightly clean your keyboard once a week and perform a more thorough clean once a month. This routine can vary depending on your usage and environment.
Can I use a hairdryer to remove dust from my keyboard?
A hairdryer is not recommended, as the heat can damage the keyboard’s internal components. A can of compressed air is a safer alternative.
What should I do if a key stops working after a spill?
Immediately unplug the keyboard and remove any excess liquid. Allow the keyboard to dry completely, which may take up to 48 hours, before attempting any repairs.
Can individual keyboard keys be replaced?
Yes, individual keys can usually be replaced, especially on mechanical keyboards. However, the process varies by keyboard model, so consult your manufacturer’s guide.
Will opening my keyboard void the warranty?
This depends on the manufacturer’s policy. Check your warranty terms before proceeding with any DIY repairs.